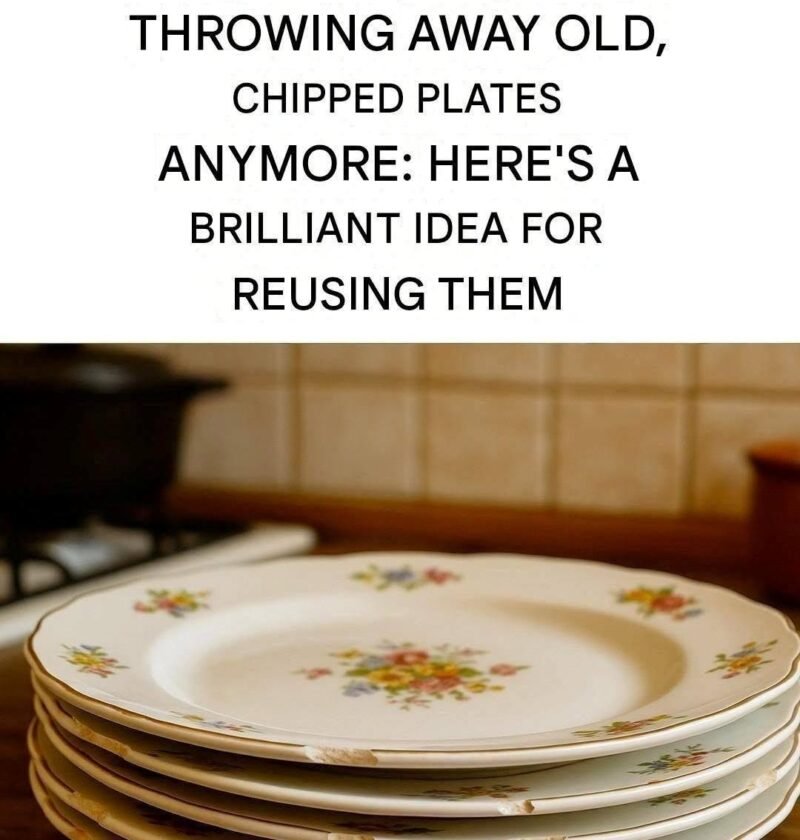
If you are looking for an original, high-impact idea to reuse old or mismatched ceramic plates—especially if they have sentimental value or vintage floral patterns—one of the most creative and visually striking concepts is turning them into Floating Garden “Plate Flowers” (or Whimsical Yard Art Totems).
Instead of hiding old plates away or just throwing them out, this project transforms them into vibrant, durable outdoor art that looks like giant, blooming ceramic flowers anchored right into your garden beds or lawn.
The Original Idea: DIY Garden “Plate Flowers”
The Concept
You layer different sizes and patterns of old plates, bowls, and saucers together (using the smallest, deepest piece as the “center” and larger, flat plates as the “petals”) and mount them onto sturdy metal stakes or copper poles. When staked among your green plants and flowers, they create an eternal, colorful garden bloom that catches the sunlight and adds a pop of vintage charm year-round.
Step-by-Step Detail: How to Make It
1. Gather Your Materials
-
The Plates: A collection of old or mismatched plates. For each “flower,” you will want:
-
1 large dinner plate (for the back/outer petals)
-
1 medium salad plate or bowl (for the middle layer)
-
1 small saucer, small bowl, or teacup center (for the flower’s center)
-
-
Adhesive: Heavy-duty, waterproof outdoor adhesive (like E6000 or marine epoxy) that can bond ceramic to glass/metal.
-
The Stem: A metal rebar stake, copper pipe, or thick steel garden rod (about 3 to 4 feet long).
-
Hardware: A metal flange, threaded coupling, or heavy-duty bottle cap/washer that matches your stake and can be glued to the back of the bottom plate to act as the connector.
2. Layout and Design
-
Lay your plates face down on a flat table.
-
Play with combinations by stacking them “Russian nesting doll” style: put a large dinner plate on the bottom, a colorful salad plate in the middle, and a small, contrasting bowl or saucer right on top.
-
Design Tip: Mix patterns! A blue-and-white floral plate paired with a solid yellow bowl in the center creates a gorgeous, eye-catching contrast.
3. Glue the Layers Together
-
Clean the back of each plate thoroughly with rubbing alcohol to remove dust and grease so the glue bonds tightly.
-
Apply a generous amount of your waterproof industrial adhesive (like E6000) to the bottom center of the large plate, then press the middle plate onto it.
-
Repeat the process to attach the smallest piece/bowl to the very center of the top plate.
-
Crucial Step: On the absolute back of the large bottom plate, glue your metal coupling or hardware connector (this is what will eventually slide over your garden stake).
-
Let the entire stacked assembly cure flat for 24 to 48 hours in a dry area until completely solid.
4. Mount and Display in the Garden
-
Drive your metal rebar or copper pipe firmly into the ground in a sunny spot in your garden, flower bed, or near a walkway.
-
Carefully take your cured ceramic flower assembly and slide the back connector bracket over the top of the metal stake. Secure it tightly (depending on the hardware you used, you may need a small tightening screw or epoxy to keep it from spinning).
-
Stand back and admire your everlasting ceramic blossoms!
Why This Idea Works So Well:
-
Weather-Resistant: High-quality industrial outdoor glue combined with ceramic means it stands up great to rain and sun.
-
Nostalgic and Eco-Friendly: It gives chipped heirlooms or thrift-store dinnerware a second life instead of filling up landfills.
-
Customizable Height: By using different lengths of rebar, you can stagger “short” and “tall” flowers to create a layered, whimsical art installation right in your yard.