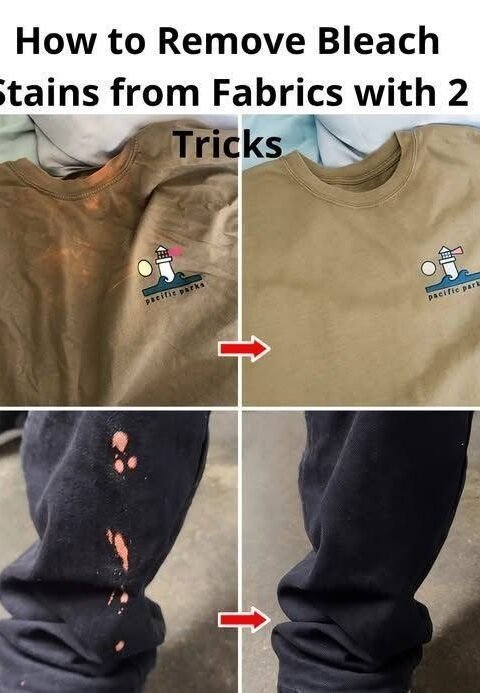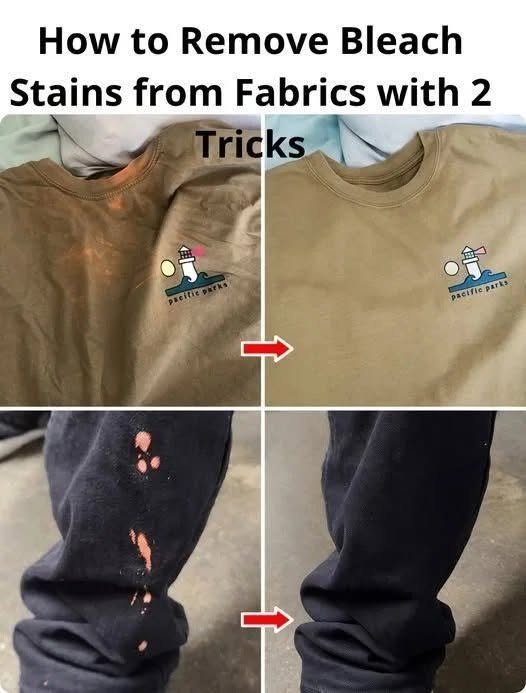
First, a quick reality check on chemistry: bleach doesn’t actually leave a traditional “stain.” Instead, chlorine bleach causes an irreversible oxidation reaction that chemically destroys the dye molecules in the fabric. Because the original color is completely gone, you can’t just wash the spot out.
However, you can rescue the garment by stopping any residual chemical action and either redistributing surrounding color or manually replacing the missing pigment.
Step 0: Stop the Reaction First (Crucial)
Before trying any trick, rinse the spot thoroughly under cold running water for a couple of minutes to flush out any active chemicals. If it’s a fresh spill, you can dab on a paste made of baking soda and water to neutralize lingering residues, then rinse again.
Once the fabric is safe and clean, use one of these two effective tricks to disguise or fix the mark:
Trick 1: The Rubbing Alcohol Bleed (Best for Dark or Patterned Clothes)
If you have a small bleach spot on a dark or brightly colored garment, you can trick the eye by “bleeding” the surrounding dye back into the blank space.
-
What you need: Isopropyl (rubbing) alcohol or clear high-proof alcohol (like vodka), and cotton balls or Q-tips.
-
How to do it:
-
Dip a cotton ball or Q-tip into the rubbing alcohol.
-
Gently dab and rub from the outside edges of the bleach spot inward toward the center.
-
The alcohol temporarily loosens the surrounding fabric dye, causing it to feather and bleed into the bleached area.
-
Once the color looks evenly distributed, let it air dry, then heat-set it by running the garment through a dry cycle or ironing it on a low setting.
-
Trick 2: Fabric Markers or Acrylic Tinting (Best for Precise Color Matching)
For garments where the alcohol trick isn’t enough (or on solid, stubborn colors), the most reliable fix is manually coloring the spot back in.
-
What you need: A fabric marker, standard permanent markers (like Sharpies), or a tiny drop of matching acrylic paint mixed with a tiny drop of fabric medium.
-
How to do it:
-
Lay the garment flat with a piece of cardboard slipped underneath the stain so it doesn’t bleed through to the other side.
-
If the exact color isn’t in your marker collection, blend markers (for example, layering a light blue and green marker to match a teal shirt).
-
Dab, don’t draw: Lightly dot the marker or tinted mixture onto the white spot, working from the inside out and feathering the edges so it blends seamlessly into the surrounding original color.
-
Heat-set the repair according to the marker or fabric paint instructions (usually running it in a warm dryer or ironing over a cloth) so it stays permanent through future washes.
-