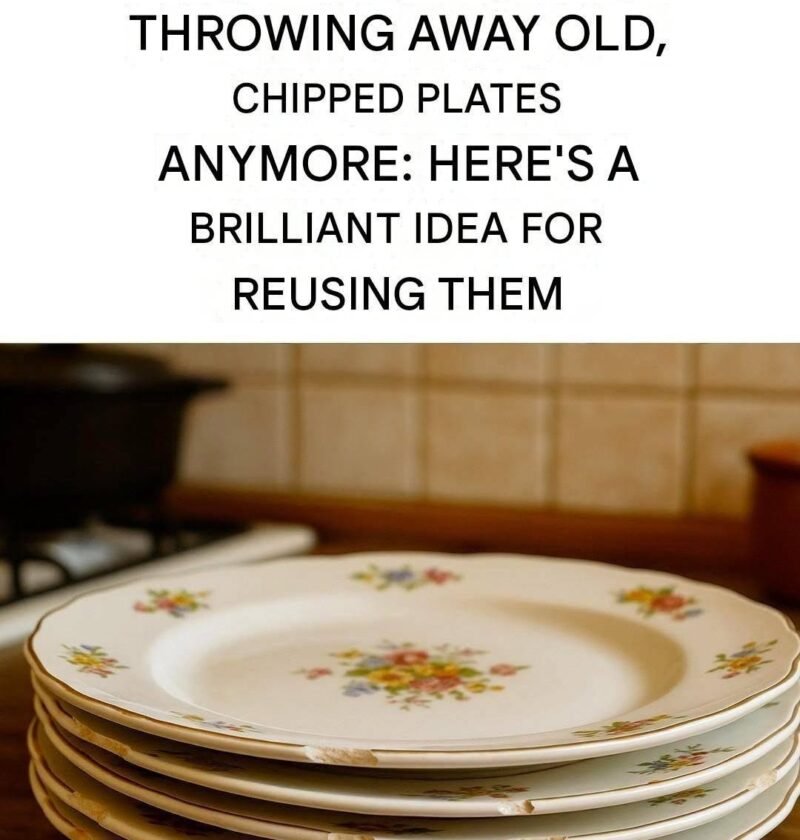
1. Tiered Serving Stand (No-Drill or Drilled)
-
No-drill method: Glue inverted sturdy teacups, candlesticks, or short glass tumblers between the plates using strong two-part epoxy or E6000 adhesive. Let cure for 24–48 hours before lifting by the bottom plate.
-
Hardware method: Use a carbide or diamond-tip glass/tile drill bit under a trickle of water to bore a center hole, then assemble with a metal tiered-stand rod kit.
2. Gallery Wall Art Display
-
How to hang safely: Use spring-loaded wire plate hangers (with plastic-coated tips to protect rims) or adhesive disc hangers rated for the plate’s weight. Lay the arrangement out on the floor first and trace templates onto kraft paper to test spacing on the wall before hammering nails.
3. Vanity & Entryway Catch-All Trays
-
By the front door: Hold keys, coins, and sunglasses.
-
On a dresser or bathroom counter: Corral rings, watches, perfume bottles, or bar soap.
-
Under houseplants: Serve as waterproof drip saucers that look far cleaner than plastic trays.
4. Mosaic Stepping Stones & Planter Borders (Best for Cracked or Chipped Plates)
-
Safety first: Wrap the plate inside a thick towel and wear safety glasses and heavy gloves before tapping gently with a hammer so porcelain shards don’t fly.
-
Where to use shards: Press pieces into wet concrete inside a shallow cake pan or mold to make a garden stepping stone, or adhere shards onto a plain terracotta pot with outdoor tile adhesive and grout.
5. Chalkboard Menu or Message Platter
Quick Safety Note for Older Ceramics
-
Lead & glaze caution: Vintage plates made before the 1970s—or brightly colored/hand-painted decorative plates—can contain lead or cadmium in the glaze. Reserve questionable or crazed (finely cracked) plates for wall art, trinket trays, or dry wrapped snacks, rather than serving hot, acidic foods directly on them.
-
Support by the base: When lifting glued tiered stands, always carry them from beneath the bottom plate rather than by the top handle.